
The 1970s Disco Cake!

The super fun 1970's Disco Cake!!
This was a very special cake from a daughter to her mother on her birthday ❤️❤️.
Just loved playing with the dancing silhouette and mirror ball design.
So are you up for making this cake?
If so, here’s how I break it down (no pun intended lol):
Materials
- 8” and 10” round 4-5” tall torted and filled cake tiers
- Dancing silhouette and peace sign template, get yours FREE here!
- Buttercream or ganache
- Fondant in your preferred 70s color hues. For the green here I used avacado, hint: to tone down any color use Wilton Ivory (unfortunately Americolor ivory doesn’t work as well)
- CMC powder for the silhouette
- 6” mirror ball (I bought the mirror ball on Amazon last minute!)
- Skewer, at least one for the disco ball
- Bead mold for border
- Flower and small circle cutters
- Sugar glue (1:1:5, sugar, CMC, hot water)
Steps
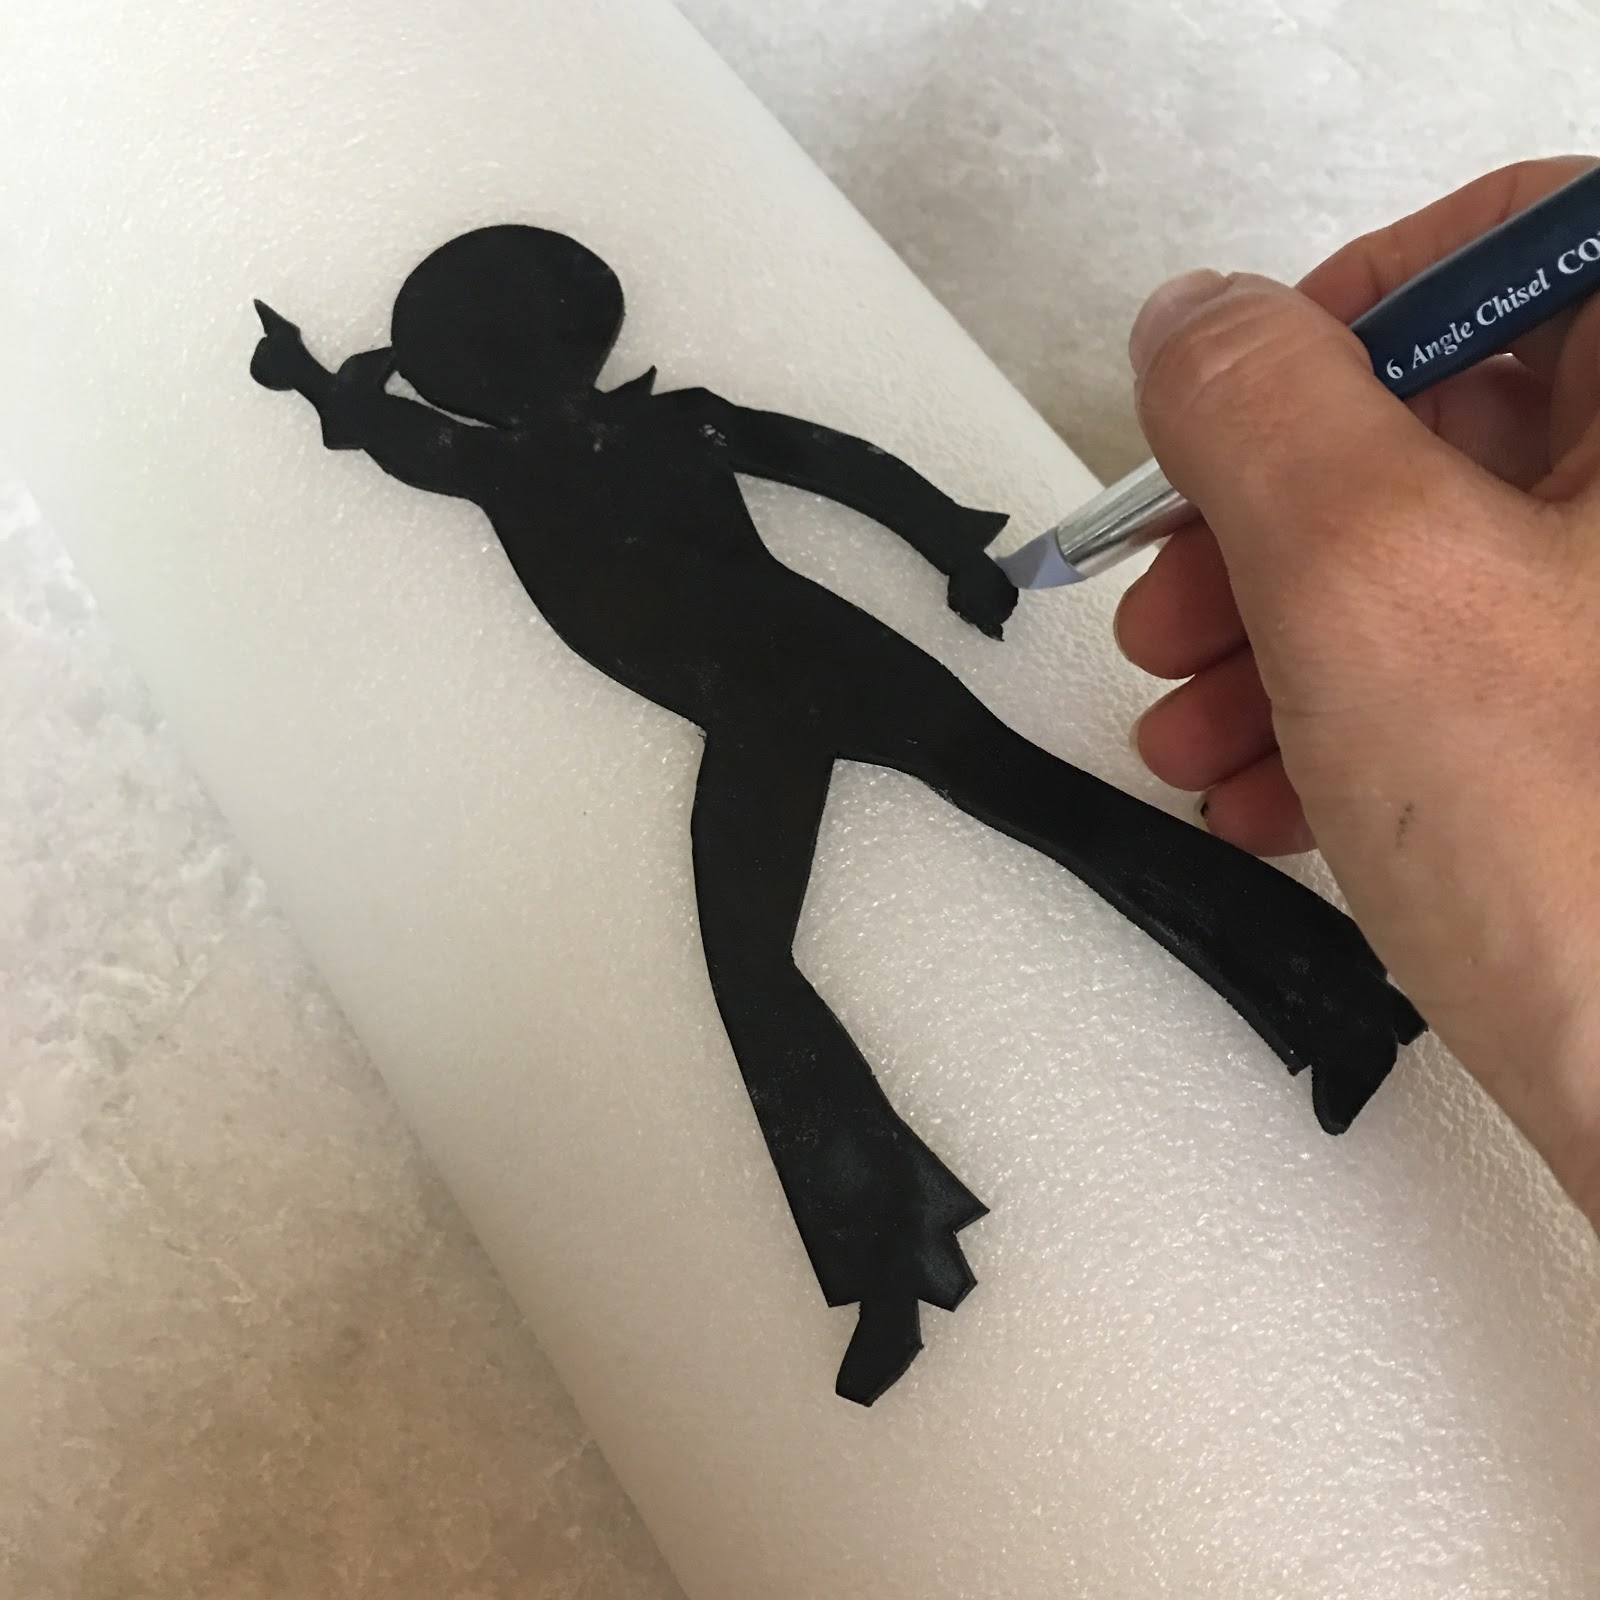
Step 1. I started with making the dancing silhouette first to give it enough time to firm up. I found the silhouette I liked, printed and cut it out as my paper template.
***For the dancing silhouette and peace sign template we used, get yours FREE here!***
Then I mixed some black fondant with some CMC powder (or tylose, same thing) and rolled that out thin. I used my paper template and a small sharp knife to cut the silhouette. I also let it dry in a curved shape by laying it on top of a long curved foam. If you don't have a long foam you can use a large pitcher or can as well. Try to give this a day or two at least to dry.
But I will confess, waiting for fondant to firm up is sometime hard for me I am so impatient lol! Just do your best, but if it is too soft see below what I did:).

Step 2. Cover your cake tiers with a thin coat of buttercream (or ganache) and then in fondant. My favorite fondant? Ours of course! We use Cake Couture Fondant exclusively because it is so easy to work with and is super great tasting:). Find it here in our shop! Let your fondant covered cake rest and firm up while you make the decorative pieces:).

Step 3. Now that your cake is covered in fondant and firming up... it's time for those fun little details:)! Using your peace sign paper template, cut out peace signs in different colors. We also used flower cutters as well as small circle cutters in various sizes. Check it out in these pictures here!


Step 4. Give the cake a more finished look with black pearl borders


Step 6. Once your silhouette has dried a bit (should be a day or two but I am always so impatient!!), place it on your using a thin coat of sugar glue on the back. Be very careful here!! Sugar glue will make the black get everywhere so stick to a thin layer and be careful with placement of your silhouette. Place something behind it to keep it nice and straight (if you were impatient like me to not let it dry all the way lol). You can also see further below that I stuck a ball of fondant and a toothpick to keep it upright lol.


Step 7. Pull the end cap out of the mirror ball and push your skewer through it. Pull out the skewer and push the blunt side through. Next push the ball and skewer through both cake tiers.
And there you have it! It's all together!!
I put this cake together after a long out of town business trip for the following weekend so I was tired as you can see:).


Of course having a template is half the battle so love that we now have that up for you:).
Have a great cake day!
Christie


Comments
Post a Comment