
Top 10 Tips for Smoother Buttercream

Hi Friend,
Do you ever run into buttercream challenges? Figuring out buttercream has been a long journey for me. I mean, this is the reason I become more of a fondant person in the first place!
It took me years to understand the effect that temperature and moisture has on buttercream.
After years of learning, here's my top tips to achieve smooth buttercream. Please note, these tips are primarily for American Buttercream (recipe here).

Tip #1. Make your buttercream in advance. This helps to reduce air bubbles. I like to make my buttercream at least 2-3 days in advance, storing it well covered in the freezer.
When I need it, I bring it to room temperature and stir it by hand with a large spatula. The cold allows the buttercream to 'freeze' its air bubbles, and the stirring at room temperature allows the air bubbles to 'release'.
You can also use your mixer and paddle attachment for the stirring, however, I try to avoid cleaning extra dishes so I do this by hand.

Tip #2. Add a touch of water or milk just before coating your cake. This softens the buttercream and helps with icing and piping on a cake smoothly. I tend to under add with this because I like firmer buttercream. Try adding a few drops or 1 teaspoon at a time to get the buttercream to the consistency you're comfortable with.
Tip #3. Sift the powdered sugar. Sifting removes any sugar clumps in your buttercream. I tried to avoid sifting for years, and you can by using powdered sugar sold in plastic bags. This packaging keeps powdered sugar from clumping.
However, since I go through a lot of powdered sugar, I use 50lb bags from a local restaurant shop, so this means I have to do a lot sifting!

Tip #4. Use unsalted butter. Years ago I experimented by spreading salted and unsalted butter from the same brand side by side. I noticed that the unsalted butter appeared to be extremely smooth, and the salted butter was less so.
Last year, however, my restaurant supply shop had stock issues with unsalted so I was forced to switch to salted. The convenience of not adding salt has been nice, but now that they're back in stock, it's time to switch back!

Tip #5. Use room temperature butter. Whether your recipe uses all butter, or part butter and part shortening, it's critical that your butter (and shortening) are at room temperature. Creaming them well, will give you a good foundation for the rest of your buttercream ingredients to incorporate well.
I used to worry I would forget to bring my butter to room temperature in time so I would leave it out overnight. It turns out that this makes for very soft butter (go figure!). It turns out that using butter that's been out of the fridge for 1-2 hours is best since this gives you soft yet somewhat firm butter.
Tip #6. Chill your cake in-between coats of buttercream. Cakes need time to settle between their initial crumb coat and their final coat of buttercream. This gives the cake extra firmness and integrity. I do this by placing the cake in the refrigerator for at least 20 minutes between coats. Also, once I have the final coat, I might wait an hour or two to get the final coat nice and firm before decorating.

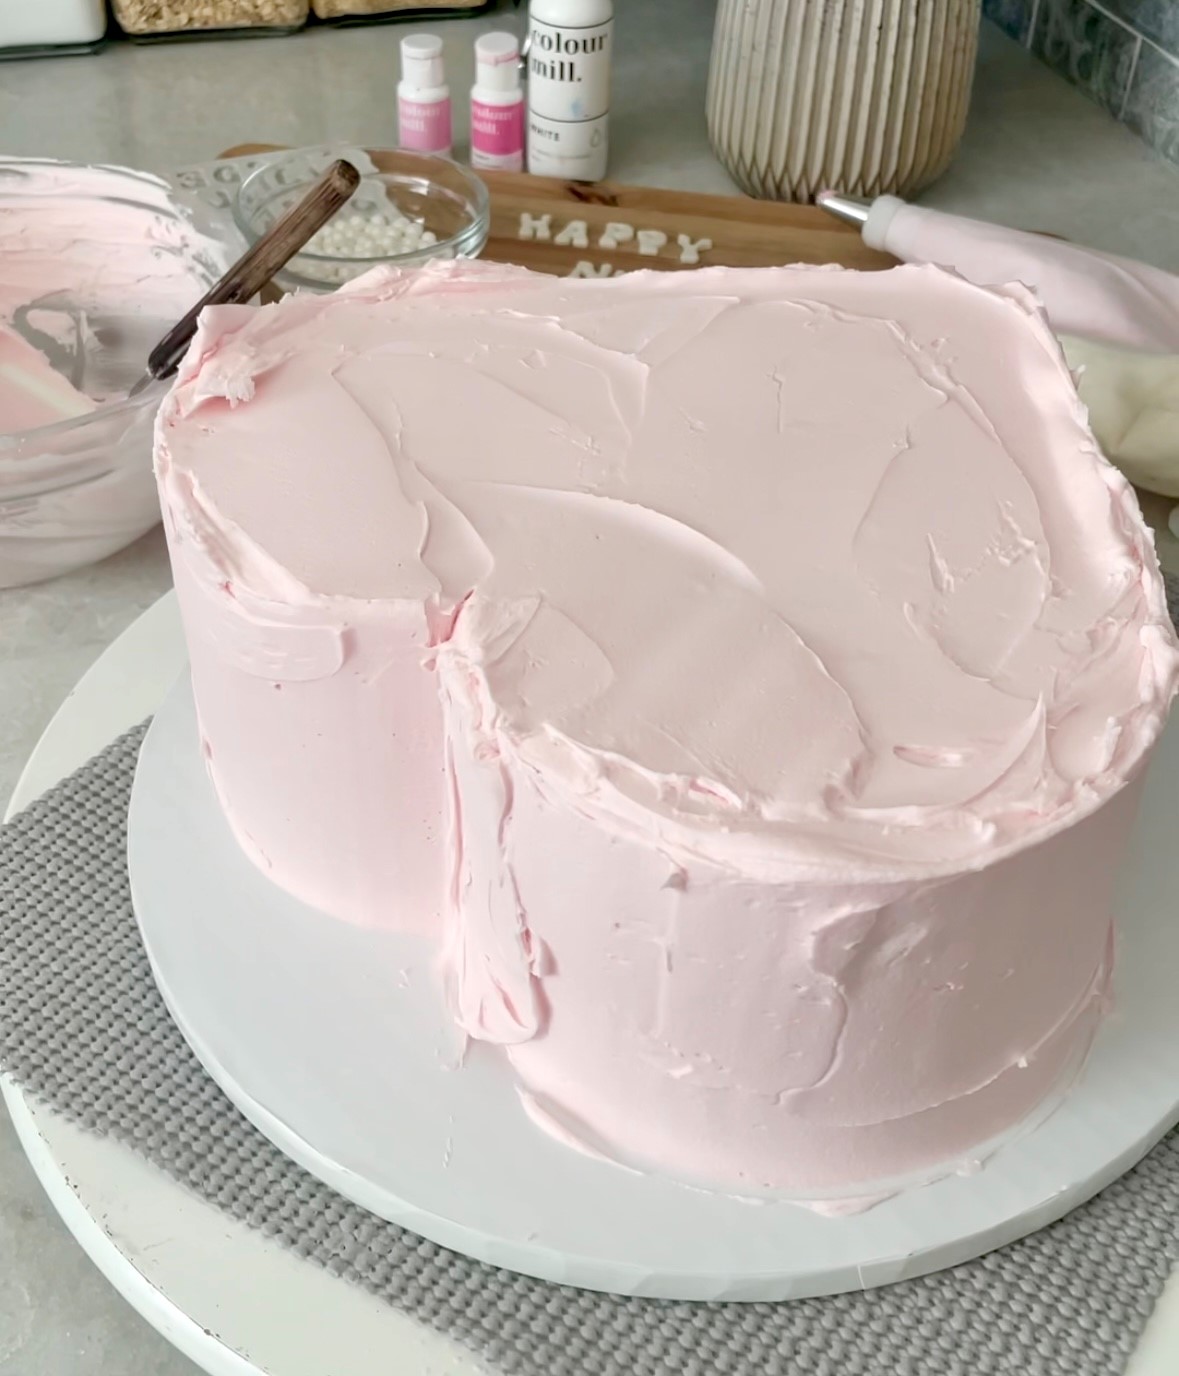
Tip #7. Use a bench scrapper VERY SLOWLY. For a smooth finish, use a metal-edged bench scrapper very, very, slowly along the side of your cake as you turn it on the turntable. This is done painfully slowly.. much slower than how you might see it on online videos!
As you scrap, there will be areas with icing gaps. Continue to fill these with extra buttercream and repeat. This does take time, but it makes all the difference as you keep working for smoothness.
Tip #8. Use a metal scraper and simmering hot water. Get the final coat extra smooth by heating a metal bench scrapper in simmering hot water. I like to use a wide sauce pan for this with about 1" of water. Dry the excess water on the blade with a paper towel before scraping to the cake. The warm blade will slightly melt the top layer of the buttercream for an extra smooth finish.

Tip #9. Press the final coat with Viva paper towels. Viva paper towels have a smooth-ish side that can help with smoothing cakes. Use this along with a fondant smoother once your buttercream has started to crust. I tend to use this more when I use strong gel colors. Strong colors sometimes are challenging because the large amount of gel might change the buttercream's consistency.
Tip #10: Maintain the smooth look in the fridge. After completely decorating a buttercream cake, keep the it looking its best by chilling it prior to pick up or delivery. Ideally, chill it for 4-6 hours or overnight.
Also, I like to store my cakes inside a box covering any open areas with plastic film. Doing this helps to protect the cake from extra condensation. Sometimes it's hard to find a box for those large cakes. I like to save delivery boxes, turn them sideways, and cut out portions of the flaps to make a box that works! Check out our Pinterest to see some examples of these.
And that's it for our top 10 tips! I hope these tips will help you for your cake decorating journey. A big thank you to Michelle for suggesting this topic to write about.
If you'd like to suggest a newsletter topic, please let us know by replying to this email.
Happy cake decorating ♡
Christie
P.S. We're SO excited for our upcoming Barbie Cupcake Workshop! It's going to be a fun afternoon of baking and decorating. If you missed signing up, stay tuned for more classes and workshops coming in the future to our events page.


Comments
Post a Comment