Tutu Cake

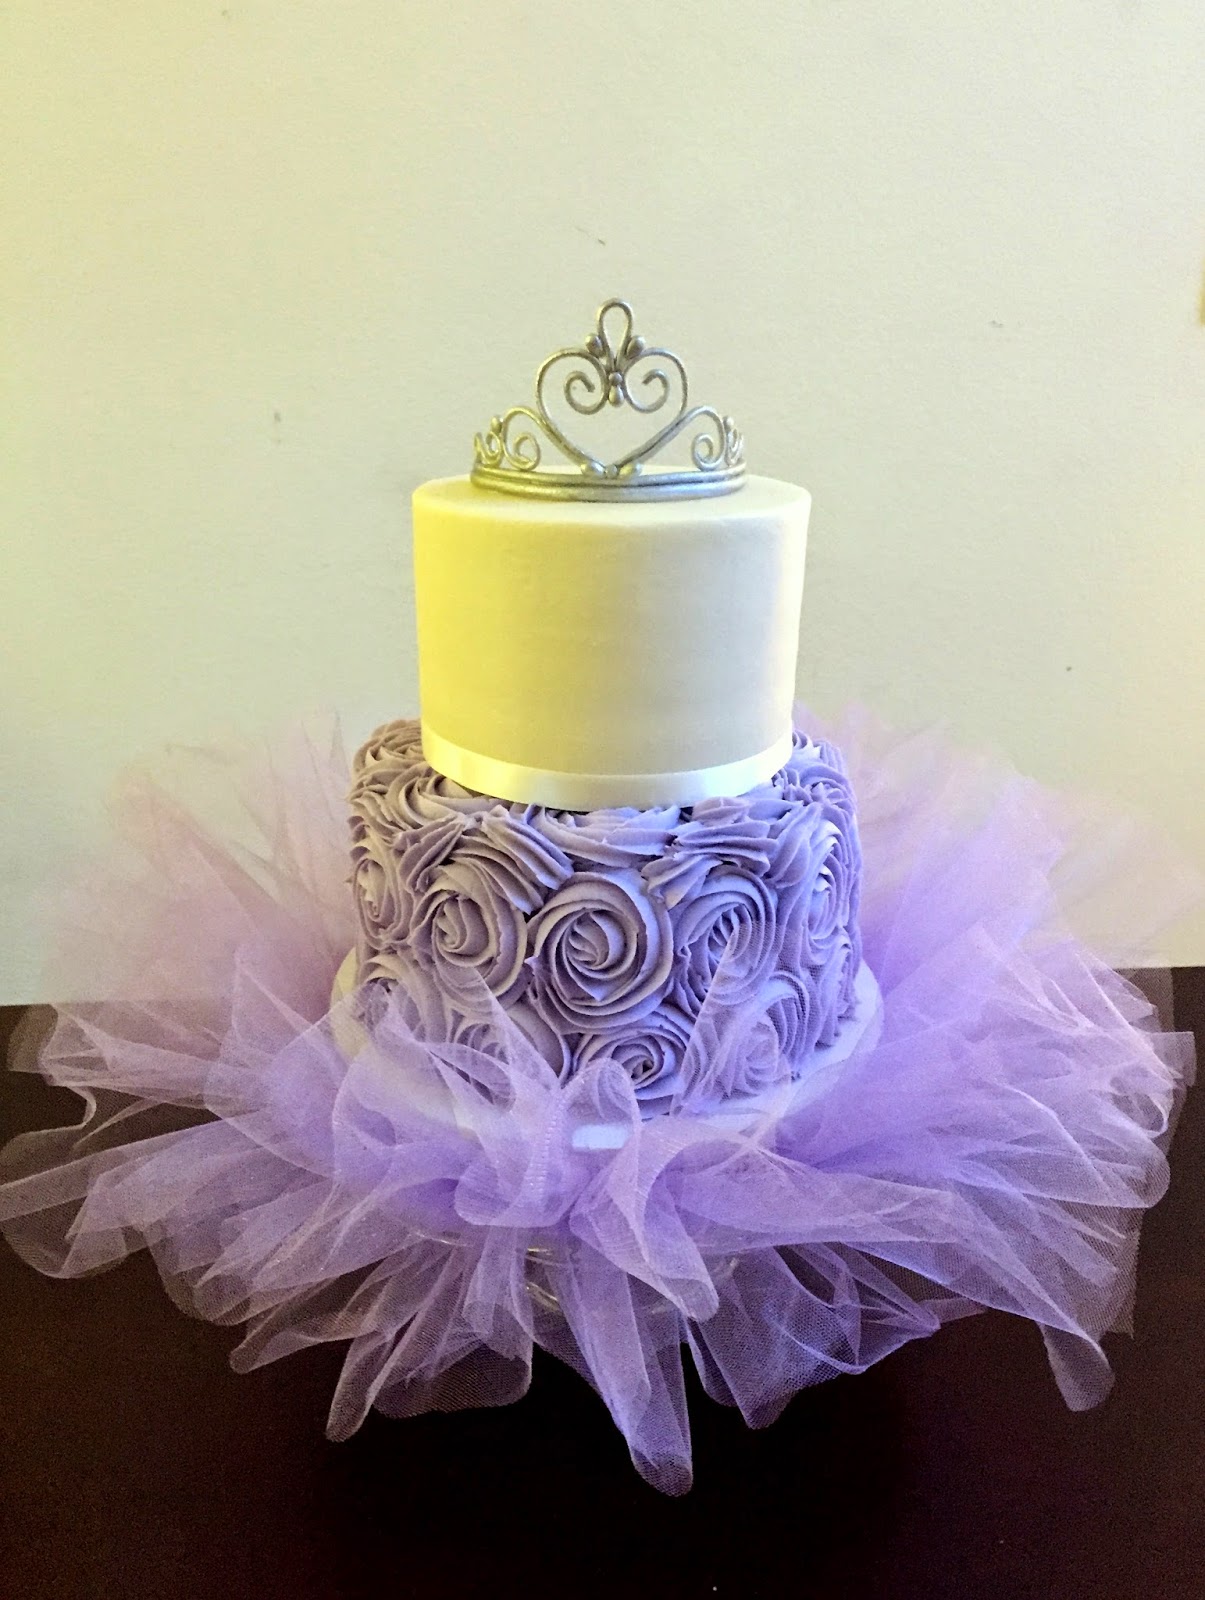
If you are doing a cute princess, ballerina, or simple girly theme this is the cake!! This cake design is very simple... a smooth top tier coupled with a rosette bottom tier. But what makes this cake extra special is the handmade sugar tiara and handmade tutu cake board. I hope you enjoy these behind the scenes pictures and some of the how-to notes in this tutorial!
Also, some brief notes about the tiara. Here is the awesome tutorial I followed. Let's not reinvent the wheel I say!:) But I did find some other things that worked better for me. For instance, although I had a can, the bottom lip of the can made it a little difficult for me to pull it away from my tiara. Of course, it might have just been that my original tiara was a little too frail why it all fell apart!
You Tube video:
I ended up using a 4" styrofoam cake round. since they are flush all the way around it was perfectly easy to use! I also used a toothpick to pin it to another styrofoam piece on my work surface to keep it from moving making it easier to use.

 For the tutu you can do a few things. Originally I thought what I would do is buy a couple of tutus, cut them up, and position them under my cake board. However, since this cake was lavender I didn't think I would be able to find it easily in the stores. In that case, I would have to order it, maybe on Amazon, but... I had nooo idea how stiff or poofy the tulle would be if I didn't physically see it or feel it first:-/. And really I wasn't crazy about taking something already made and cutting it up:(. The other option could be the no-sew tutu but... I am a seamstress and that was not an option!:) To look right it needs to be sewn and I had to do it right:). So I bought some tulle and got working!
Here is a brief description of what I did (sewing method):
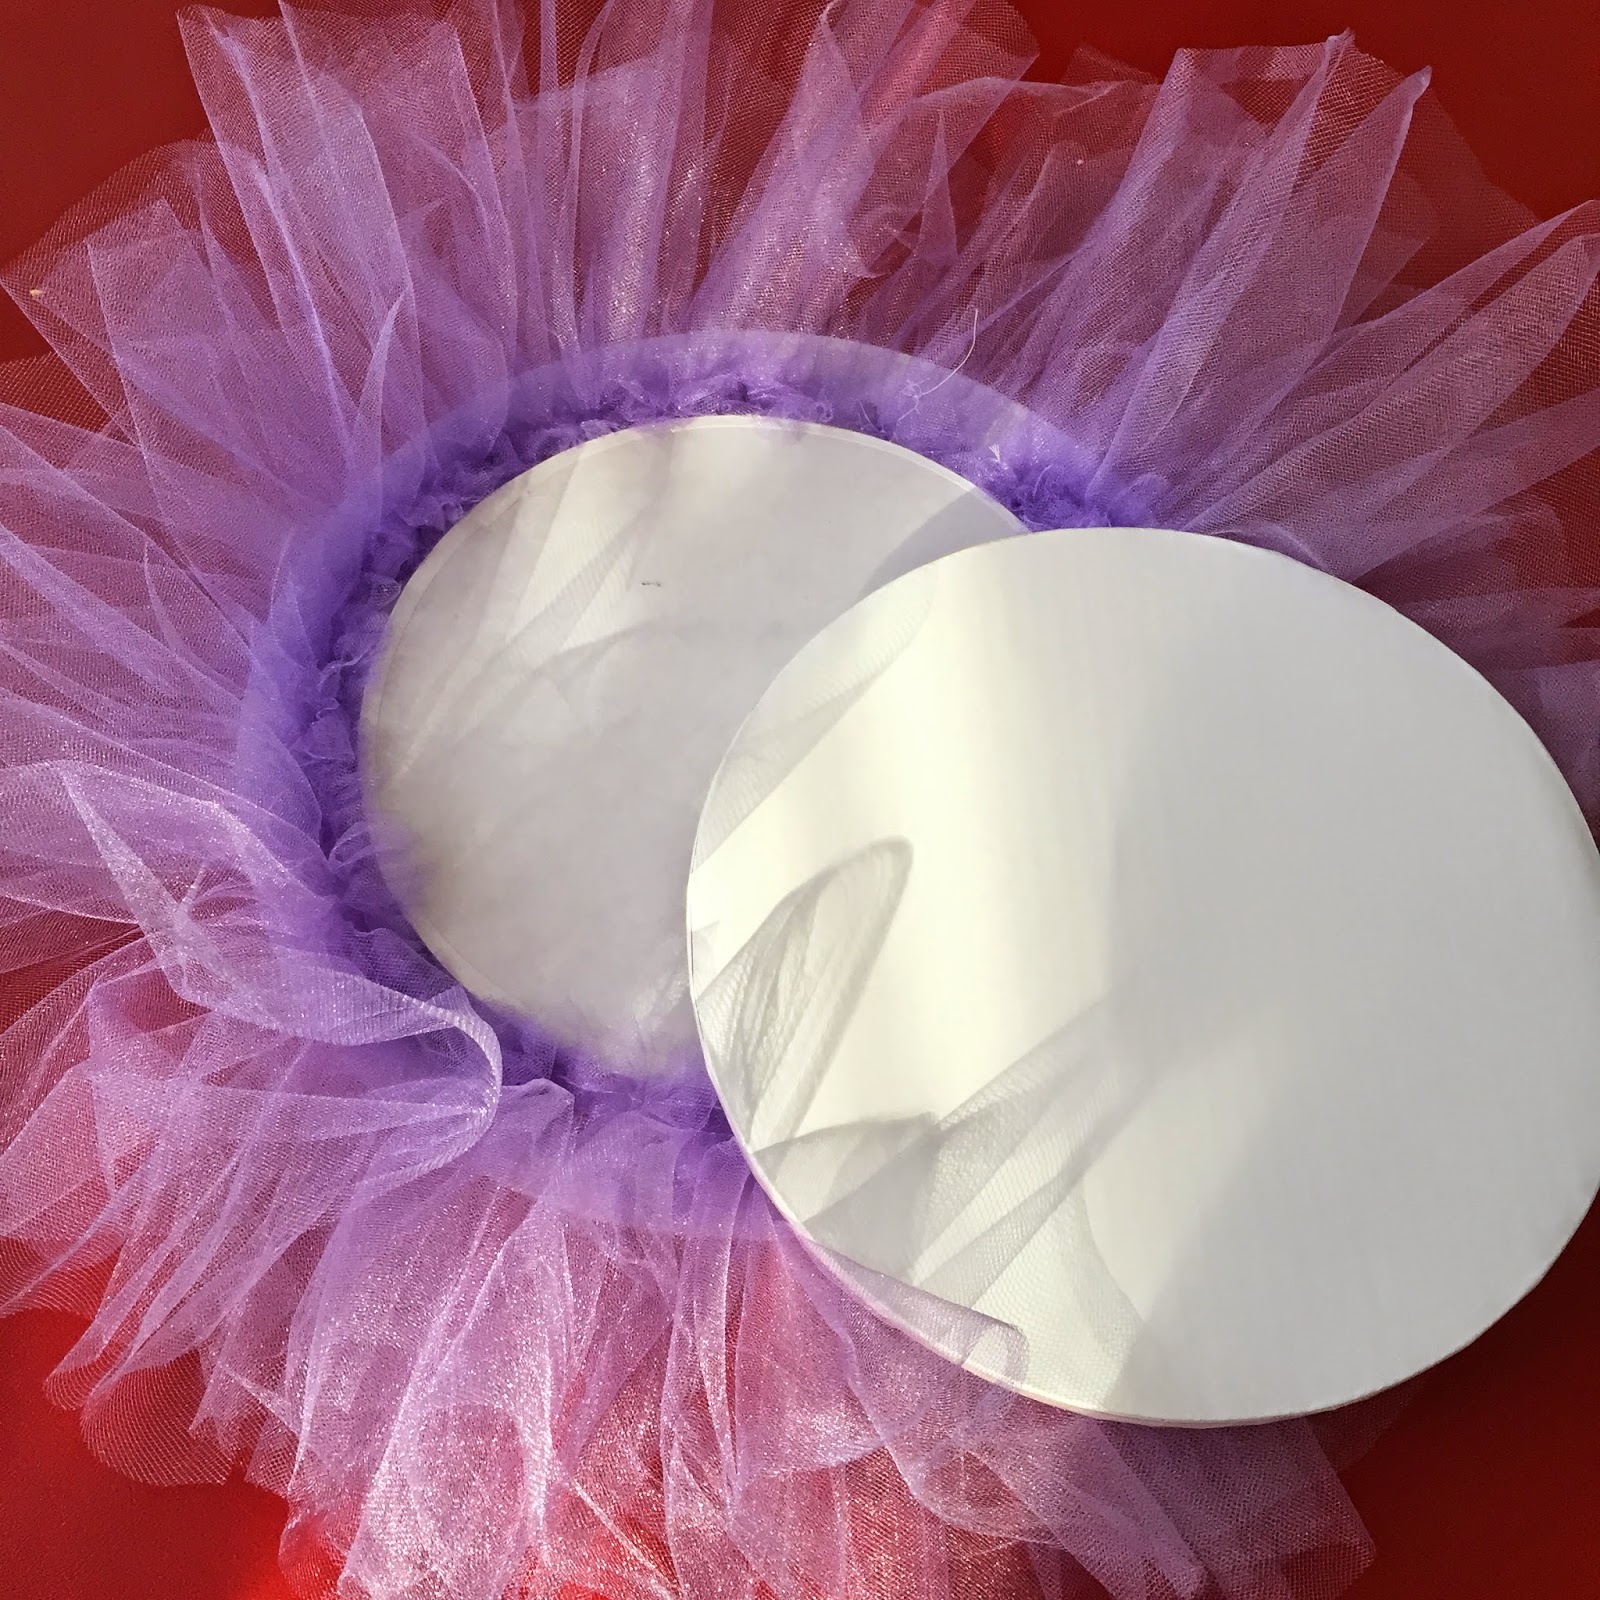
I used 8 strips of lavender tulle that were about 6" wide by 3 yards long. For each strip sew two separate wide baste stitches on one edge. Pull the bobbin thread of both stitch lines to crinkle up the edge. Next sew a regular smaller stitch in-between the two wide baste stitches. Pull the baste stitching out. Make sure to do the same process on all 8 of the strips. Position 4 tutu sections as a 'first' layer followed by another 4 sections on top of those to make a 'second' layer.
NOTE: The sizing below is different than the sizing in the pic (sorry!) For the cake board, take a 14" cake board and glue 3-4 8" cake boards (one on top of the other) to it's center. These center boards give you the gap you want to secure your tutu. The final cake board (10") will be glued to top of the 8" board hiding everything seamlessly:).
Thanks for checking out our tutu cake!
Happy Cake Making!
Cake Couture Designer


Comments
Post a Comment