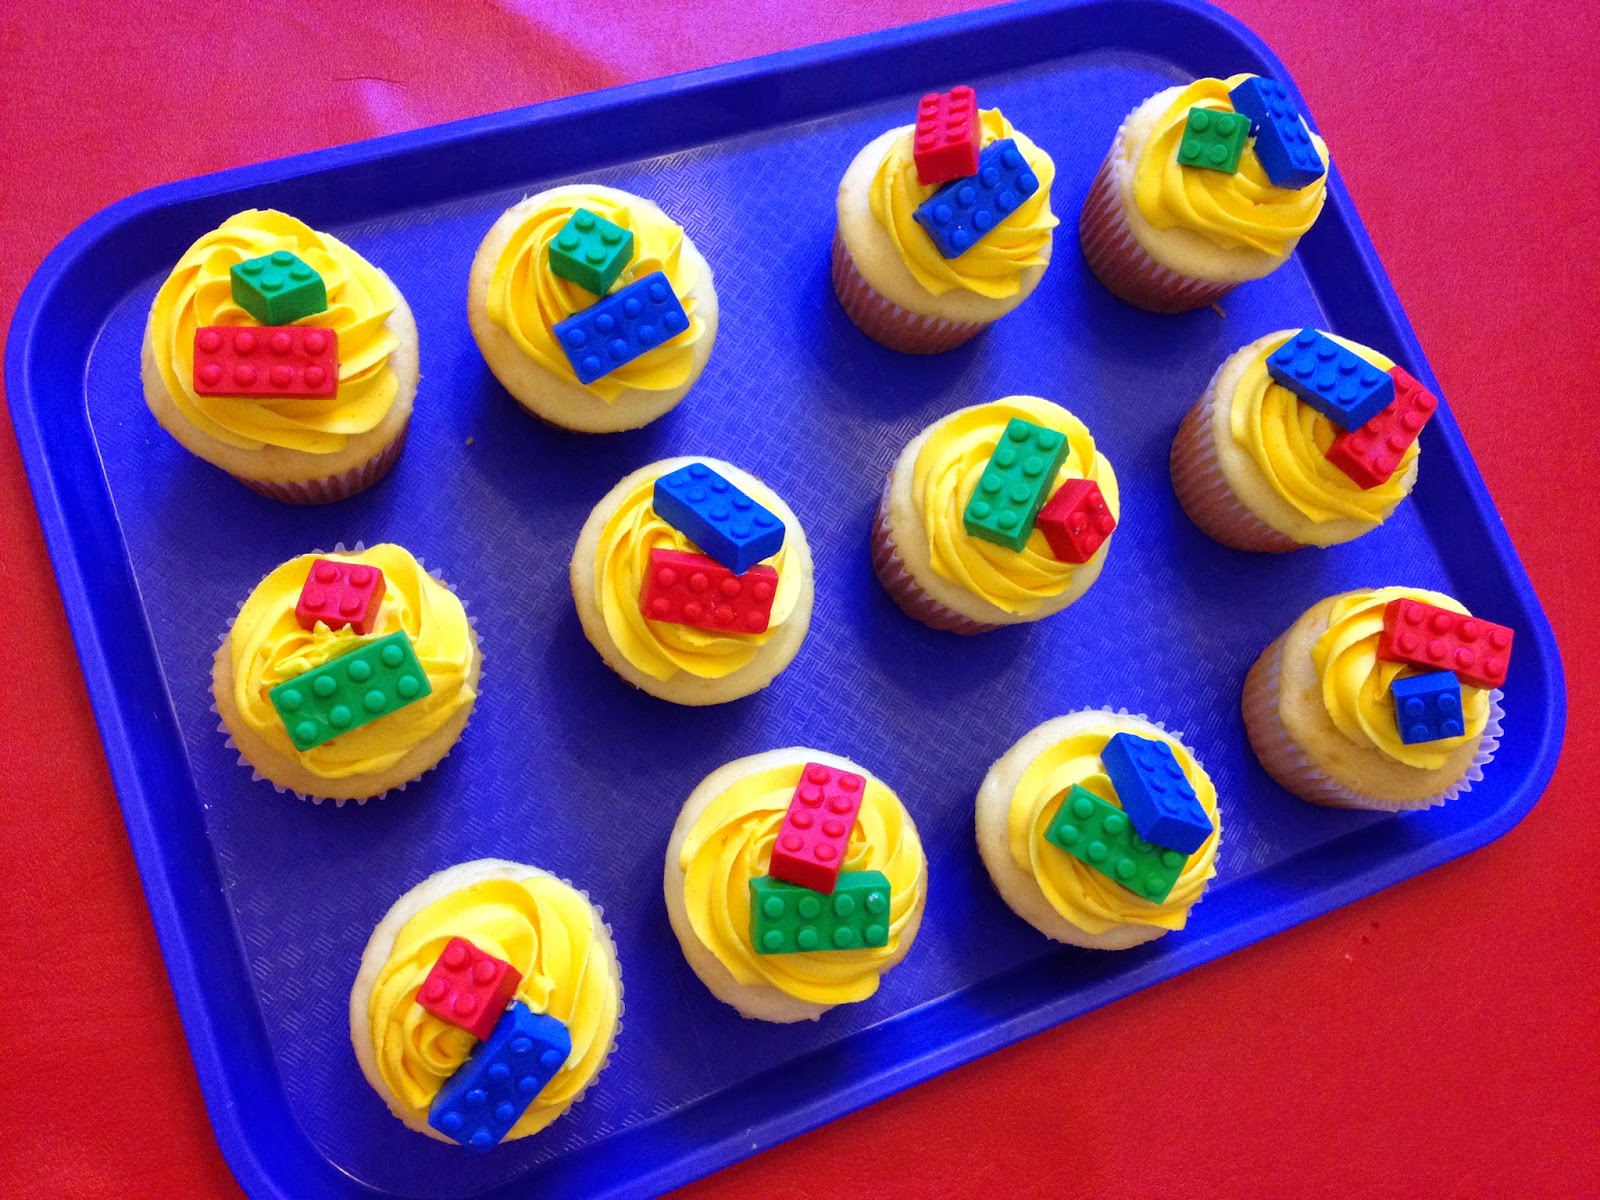
How to make Lego Cupcakes!
Blocks blocks and more blocks! Why can we not get enough?!! They must be the perfect toy... and therefore the perfect party addition! My little girl's birthday's are coming up and they wanted to make these to share with friends and family when they came over:). And since it's their day, instead of telling them to give mom space so I can do cake work in the kitchen... it's their turn to help all they want!!
If you want to make these super cute little guys here is our quick tutorial on the how-to!
But first, here is a quick YouTube tutorial on these Building Block cupcakes:
Gently bend back mold and let the piece pop out onto your work area.
2. When you are ready for your cupcake batch bake and cool your cupcakes. Also prepare your buttercream.
If you want to make these super cute little guys here is our quick tutorial on the how-to!
But first, here is a quick YouTube tutorial on these Building Block cupcakes:
Materials
Cupcakes
Buttercream
Sharp knife
Steps
1. To get some really sharp looking Building Block bricks try to pre-make these at least one days ahead of time. I love to use the primary colors here:)!
NOTES ON USING THE MOLD:
Roll a small piece of fondant into a ball. Press firmly as you roll
with your palms in order to drive out all the creases. Slowly
release palm pressure.
with your palms in order to drive out all the creases. Slowly
release palm pressure.
Next push and fill the mold firmly. It works best by filling both cavities. Pushing well and filling entirely will ensure sharp edges.
Cut off excess using a sharp knife.
** Make it even sharper looking by putting it in the freezer for about 5 minutes:)!!**
Gently bend back mold and let the piece pop out onto your work area.
Set onto a tray dusted in powdered sugar and re-straighten if needed using straightedges or spatulas.
Here is a picture of another mold we designed. But this one has very thin walls so we had to make sure to resquare the mold after pushing in the fondant. This one would be great for chocolate:)!
Here is a picture of another mold we designed. But this one has very thin walls so we had to make sure to resquare the mold after pushing in the fondant. This one would be great for chocolate:)!
2. When you are ready for your cupcake batch bake and cool your cupcakes. Also prepare your buttercream.
3. Color your buttercream if desired. Here I chose yellow. I just love how yellow brings out the fun primary colors:)!
4. Use a big piping tip. For a star tip use a 1M and for a round tip use a 1A. Pipe swirls atop your cupcakes. I like to do these 2-3 at a time. Otherwise if I pipe more on by the time I get to position the cupcake toppers the buttercream starts crusting over and it just doesn't position as clean and smoothly. This applies only to crusting buttercreams (not Swiss meringue for instance).
And that's it!
Cute, fun, and simple:)!!
Have fun and happy caking!
Christie


Comments
Post a Comment